Silicone Wound Packing Trainer Guide
Before you start (safety + success)
- Work in a well-ventilated space. Wear nitrile gloves, eye protection, and an apron. (Avoid latex—it can inhibit platinum silicone cure.)
- Ecoflex 00-20 mixes 1A:1B by weight or volume, ~30-min pot life, ~4-hr cure at ~73 °F (23 °C). Plan your batch size accordingly.
- Release agent: use Ease Release™ 200. Spray in a well ventilated area.
Materials
- 3D-printed mold (Decent Simulators wound-packing series)
- Ecoflex™ 00-20 (Smooth-On)
- Ease Release™ 200 mold release (spray)
- Silc-Pig™ pigments (Light/Medium/Dark Flesh + accent colors)
- Flocking (flesh/tan/brown/red; trace yellow/green/blue optional for realism)
- SIL-Poxy™ (for the “blood layer” paint) and NOVOCS™ Gloss solvent
- Mixing cups (large final container + two smaller “A” and “B”), stir sticks, syringes if needed, labels, scale (recommended), timer.
Visit our Silicone Shopping List for additional links to purchase needed materials.
Print the mold
- Load the Decent Simulators files in your slicer (3MF is provided). Typical profile that works well: 0.2 mm layer, 2 walls, ~15% infill (PLA/PETG).
- There are two models available to choose from:
- Bullet Wound
- Large Laceration Wound

Step-by-step casting
- Print the mold
- Print and post-process (light sand/deburr). Ensure it’s clean and dry.
- Consider XTC-3D for prints with obvious layer lines in the finished surface.
- Prep the mold
- Spray a light, even coat of Ease Release 200; wait 5 minutes so solvents flash off.
- For deep channels, brush a little in and wipe excess.
- Plan your batch volume
- Each trainer uses ~300 mL total mixed silicone. Confirm your final pour container is big enough for the whole batch.
- Label cups
- Mark two cups “A” and “B.”
- Measure Parts A & B
- Divide the total volume in half. Example for 1 trainer:
- A = 150 mL
- B = 150 mL
- (Weight is best for accuracy; Ecoflex is 1:1 by weight or volume.)
- Divide the total volume in half. Example for 1 trainer:
- Tint each part separately
- Add a few drops of Silc-Pig to A and to B, mixing each to roughly the same shade (Light/Medium/Dark Flesh).
- Do not overload pigment—manufacturer guidance is small amounts, typically ≤ ~3% by weight of the mixed silicone.
- Add flocking (optional but recommended)
- Sprinkle flesh/tan/brown/red into each part and mix. Tiny touches of yellow/green/blue add realism and break up uniformity (see “Helpful videos” below).
- Combine A + B (1:1)
- Pour A into B (or B into A) maintaining 1:1. Scrape sides/bottom while mixing for 60–90 seconds until the color is uniform.
- (Optional: quick vacuum de-air; low viscosity helps even without it.)
- Pour
- Pour in a thin, steady stream from a bit of height to pop larger bubbles; tap the mold lightly to encourage bubble rise.
- Pour until mold is completely full, including the outer rim. It is okay to overflow slightly.
- Cure
- Leave undisturbed until fully cured. Ecoflex 00-20: ~4 hours at 73 °F (warmer cures faster).
- Confirm pot and cure times for the specific silicone being used. Ecoflex 00-20 FAST: ~1 hours at 73 °F (warmer cures faster)
- De-mold
- Flex the mold and peel gently to avoid tearing fine features.
- Trim Excess
- Use scissors, a scalpel, or a rotary cutter to remove excess silicone and to create a clean edge.
- The outer lip is general desired as this helps control mess when using this as a wet trainer.

Add the “blood layer” (silicone paint)
Do this soon after demanding for best bond.
- Decant SIL-Poxy into a small cup.
- Thin with NOVOCS Gloss to a paintable syrup
- (NOVOCS ratio ~300–500% by weight relative to SIL-Poxy—add gradually to reach your desired flow).
- Pigment lightly with Silc-Pig “Blood.”
- Use just enough for color; keep pigment loading low (trace amounts; avoid heavy loads) to preserve cure.
- Paint the inside of the wound track.
- Optional: Let extra run down the exterior for an “active bleed” look.
- Set until tack-free.
- With NOVOCS-thinned SIL-Poxy, allow ~1 hour before handling (temperature and solvent load affect timing).
- Allow 24 hour cure before using for wound packing training.

Cleanup, storage, and reuse
- Keep molds clean/dry. Re-spray a light coat of release every run. Smooth-On
- Avoid known platinum-silicone inhibitors (latex, sulfur clays, uncured epoxies/urethanes, some paints). If unsure, do a small patch test. Smooth-On
- Finished trainers can be rinsed with mild soap/water; avoid strong solvents.
- 99% Isopropyl alcohol will cleanup any uncured silicone on surfaces.
Quick batch math (examples)
This chart will assist with determining the volumes needed to make multiple trainers. Each trainer is approximately 300 mL, however due to variations in mixing and wastage we recommend slight excess in each batch. Excess silicone can be poured into flat molds to create small skin patches for other use and practice.
| # of Trainers | Total Volume (mL) | Mixing Container Size | Part A (mL) | Part B (mL) |
| 1 | 300-320 | 16 oz or 20 oz | 150-160 | 150-160 |
| 2 | 600-640 | 20 oz* or 32 oz | 300-320 | 300-320 |
| 3 | 900-960 | 32 oz* or 40 oz | 450-480 | 450-480 |
| 4 | 1200-1280 | 40 oz* or 64 oz | 600-640 | 600-640 |
| 5 | 1500-1600 | 64 oz | 750-800 | 750-800 |
| 6 | 1800-1900 | 64 oz* | 900-950 | 900-950 |
| 8 | 2400-2500 | 64 oz (x2) | 1200-1250 | 1200-1250 |
| 10 | 3000-3100 | 64 oz (x2) | 1500-1550 | 1500-1550 |
* These are very close fits. Recommend sizing up to next container size.
Troubleshooting
- Tacky or uncured silicone: likely inhibition.
- Check for latex gloves, sulfur-based clays, fresh urethanes/epoxies, or paint residues; switch to nitrile/glass/metal and re-test. Smooth-On
- Color blotches: under-mixed pigment.
- Tint A and B separately first; remix thoroughly. Reynolds AM
- Bubbles on top surface:
- Pour as a thin stream; tap/tilt; consider a quick vacuum if available.
Helpful videos & channels
- Brick In The Yard (BITY) – channel (lots on flesh tones & flocking). YouTube
- Using NOVOCS to thin silicone paints (principles apply to SIL-Poxy). Smooth-On
Image Gallery
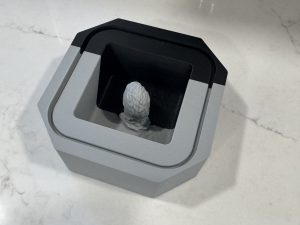


3D Printed Wound Packing Trainer.

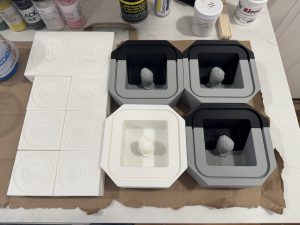
Empty molds for wound packing trainers and silicone moulage appliances.

4 wound packing trainer molds filled with platinum cure silicone.
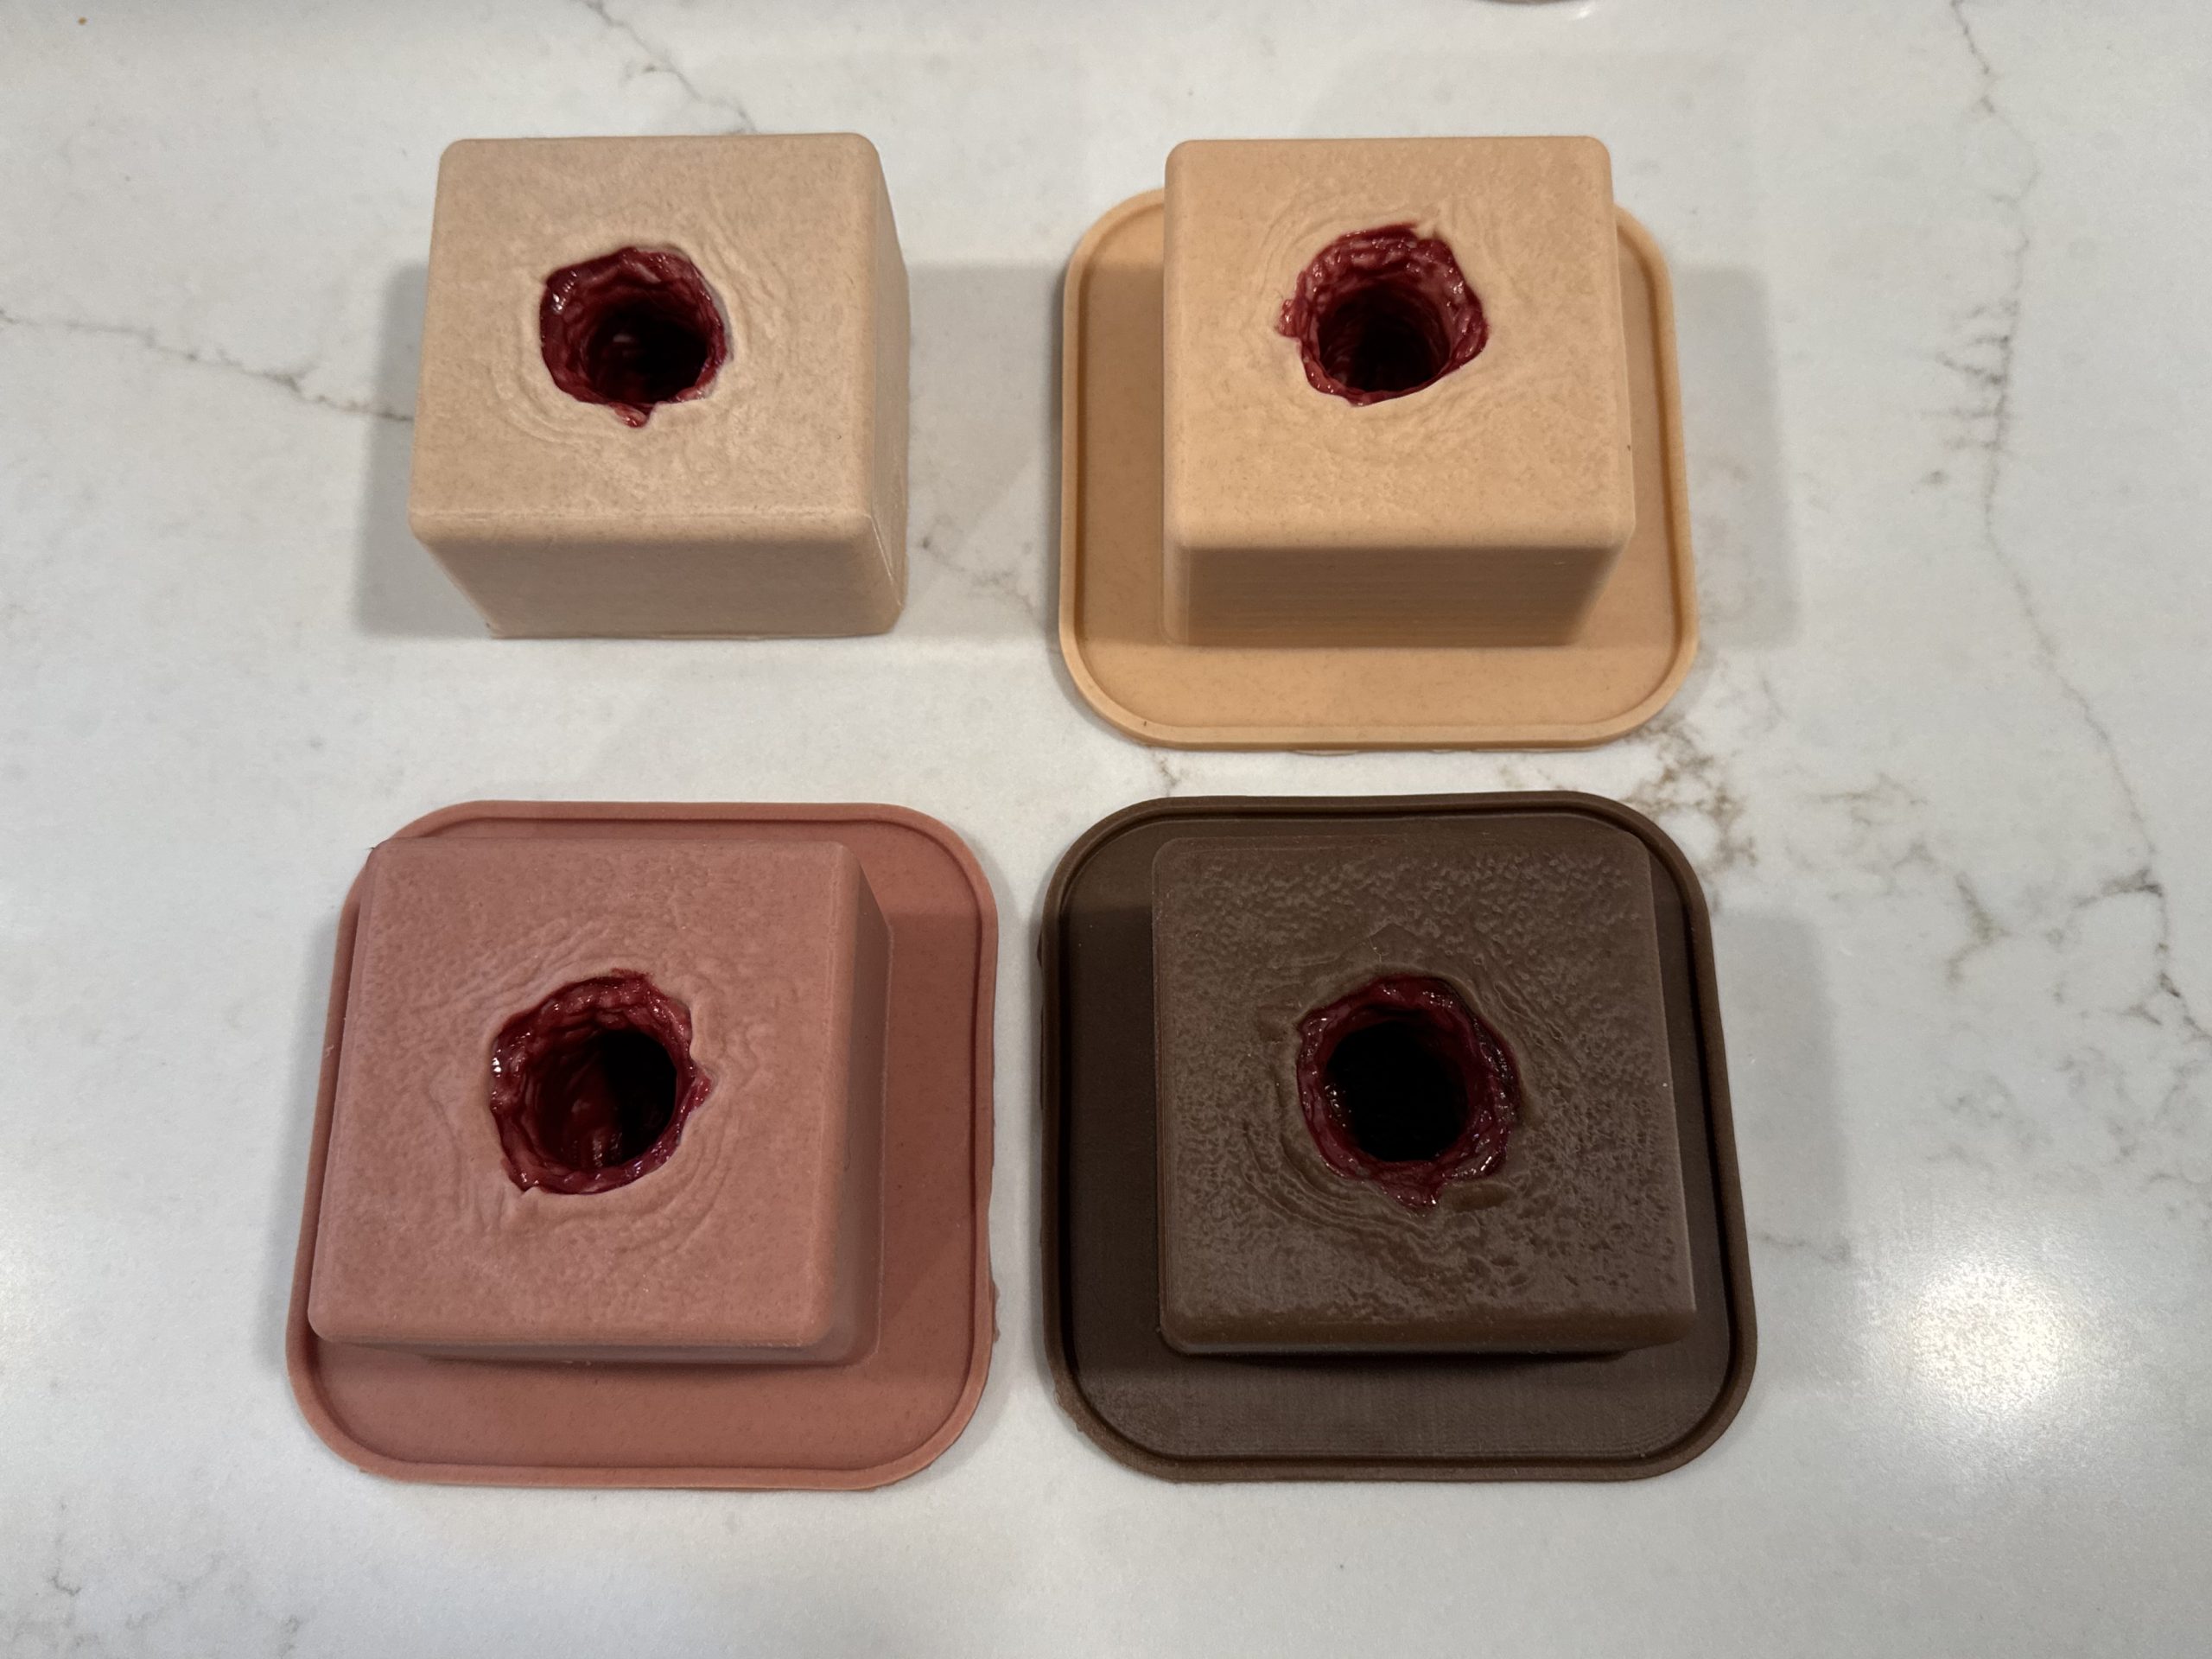
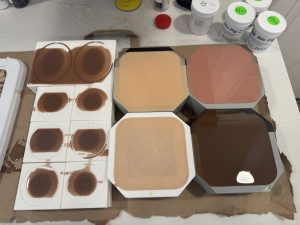
4 different skin pigments on gunshot wound packing trainer.
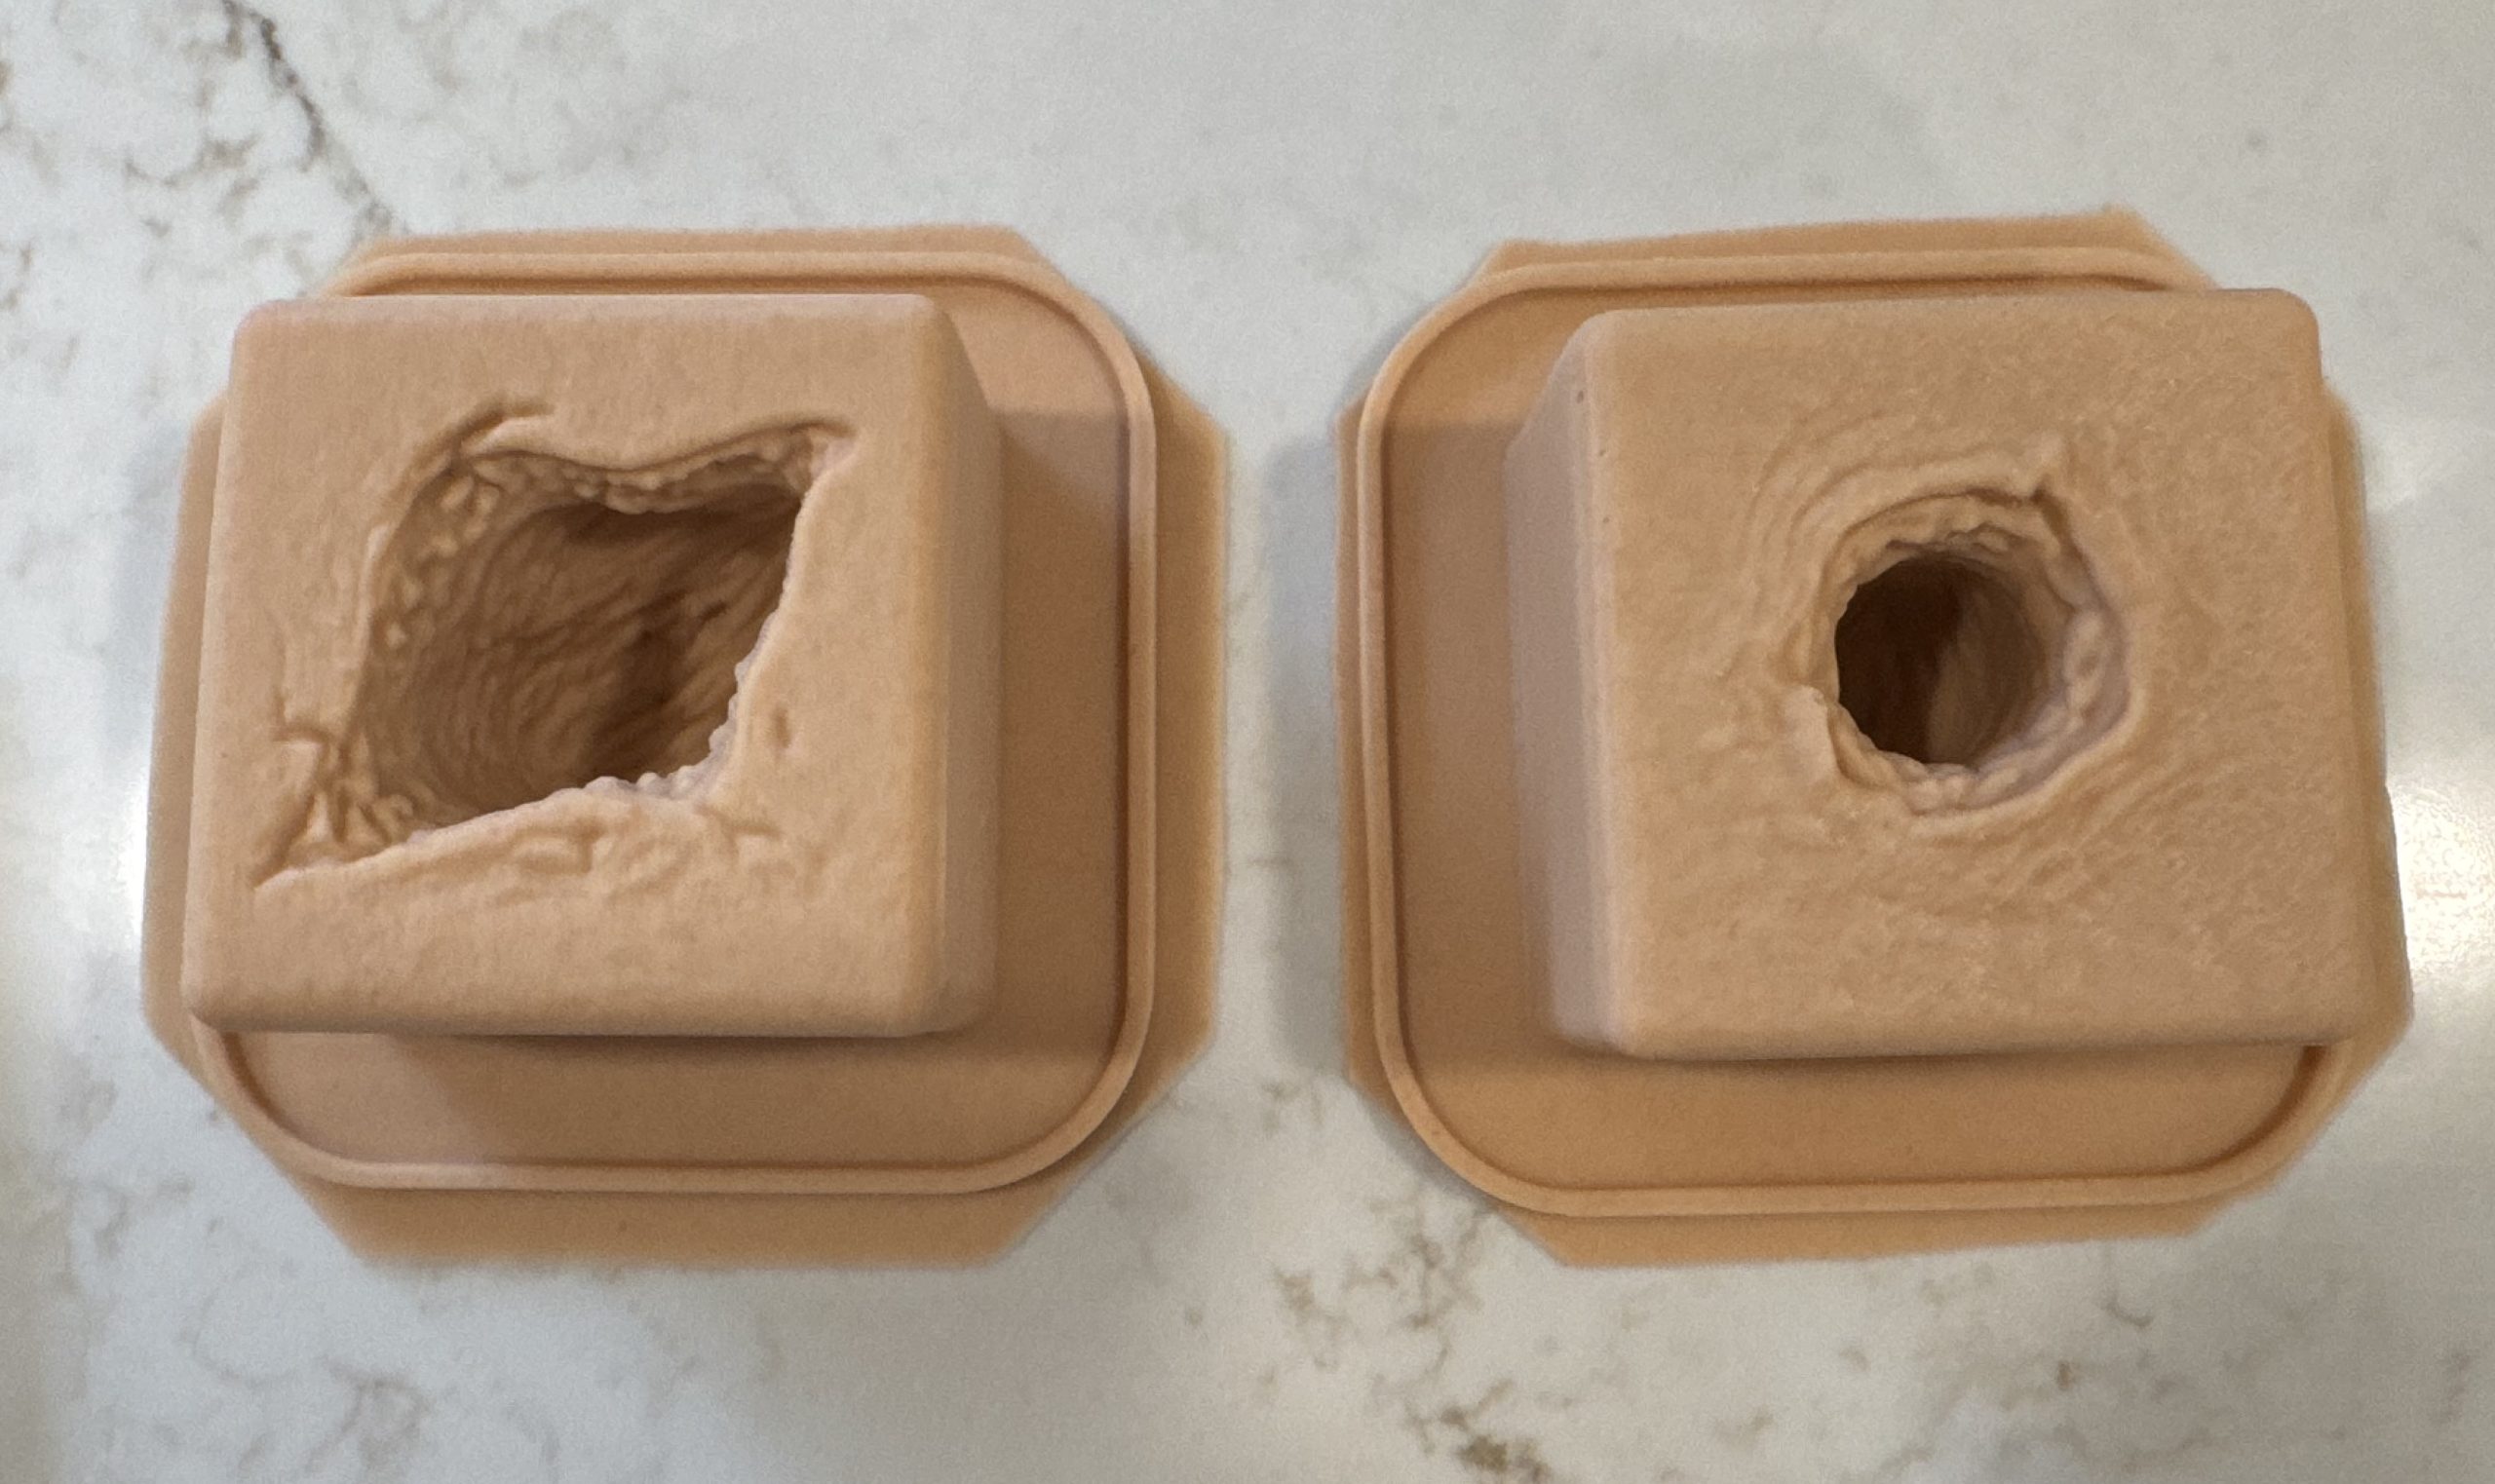
Wound packing trainers that have been freshly de molded but not painted.
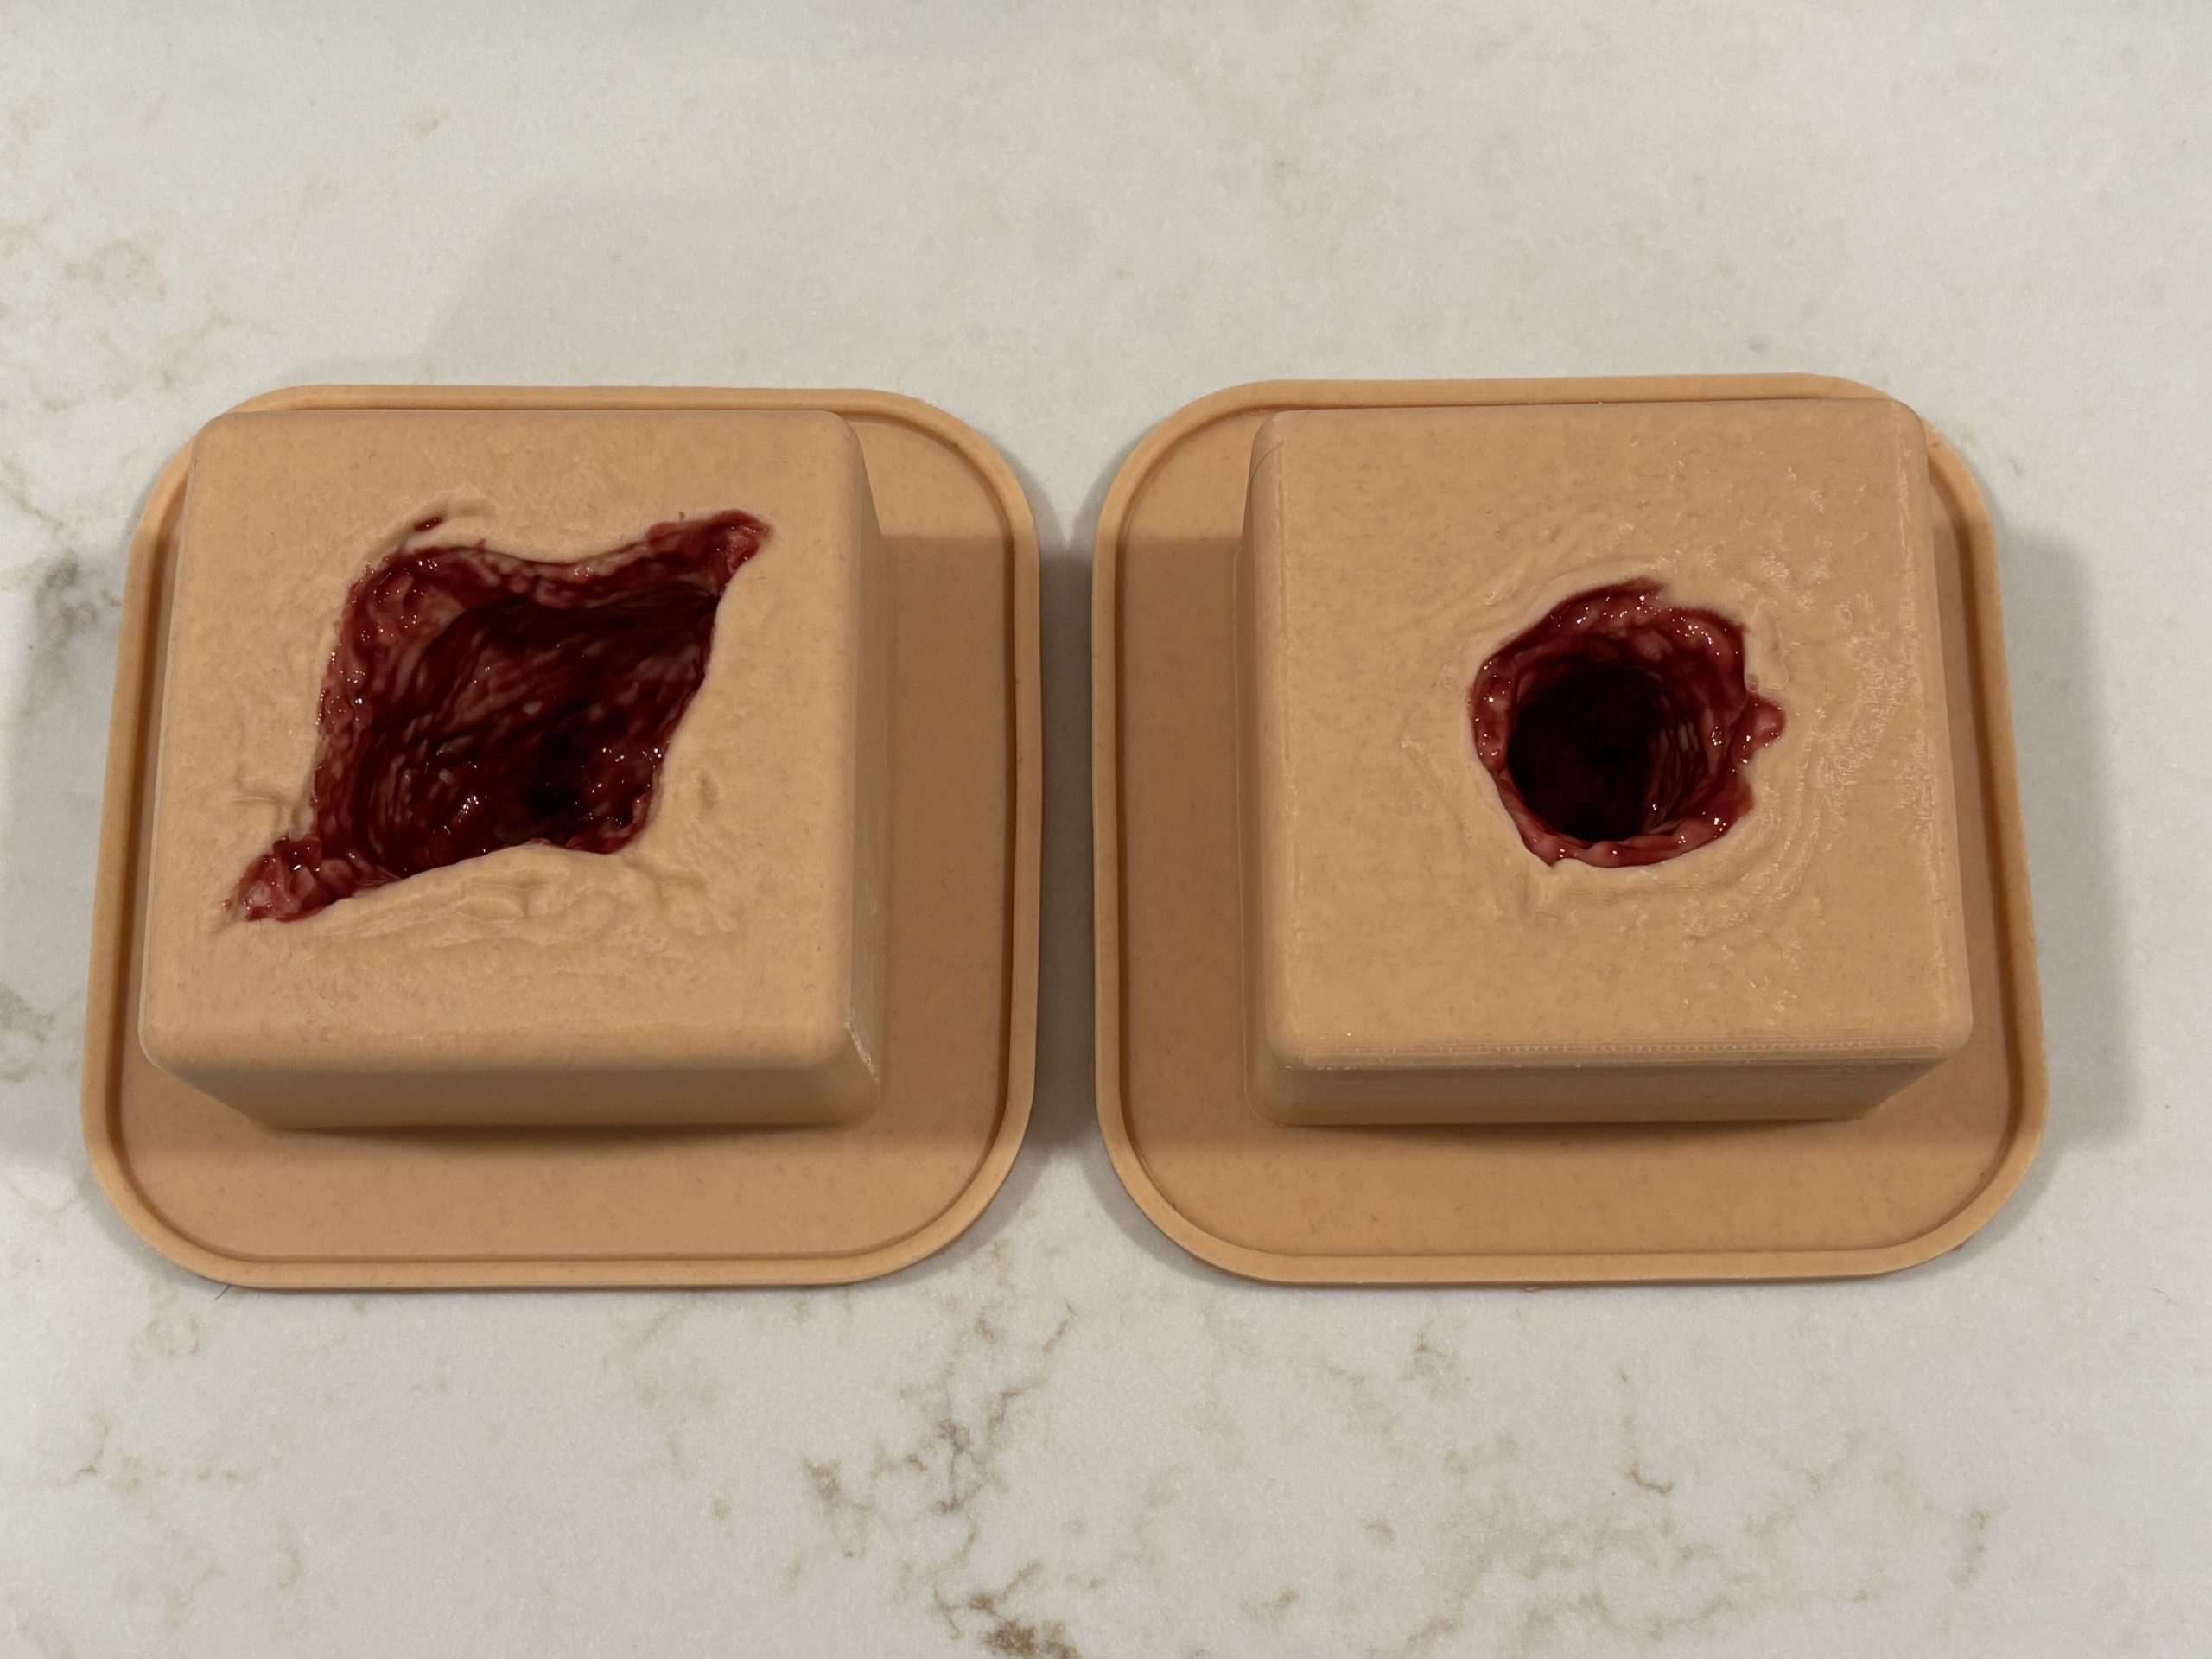
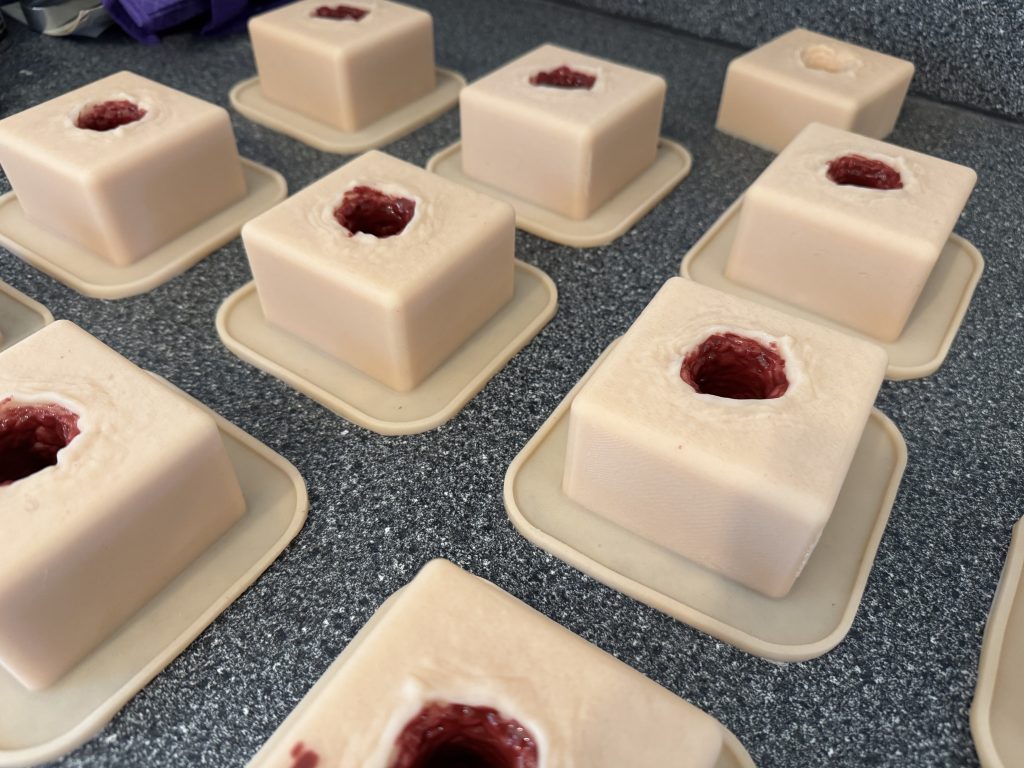
Gunshot and laceration wound packing trainers in finished state.

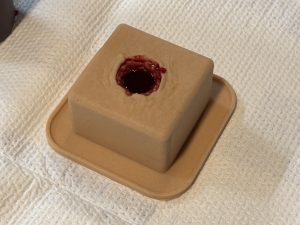
Gunshot wound packing trainer with fake blood

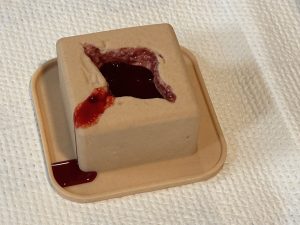
Wound packing laceration trainer with fake blood (liquid)

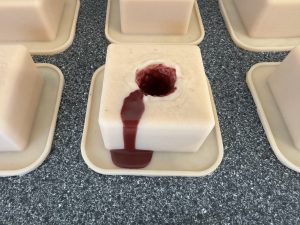
Finished wound packing trainer with silicone blood pool.
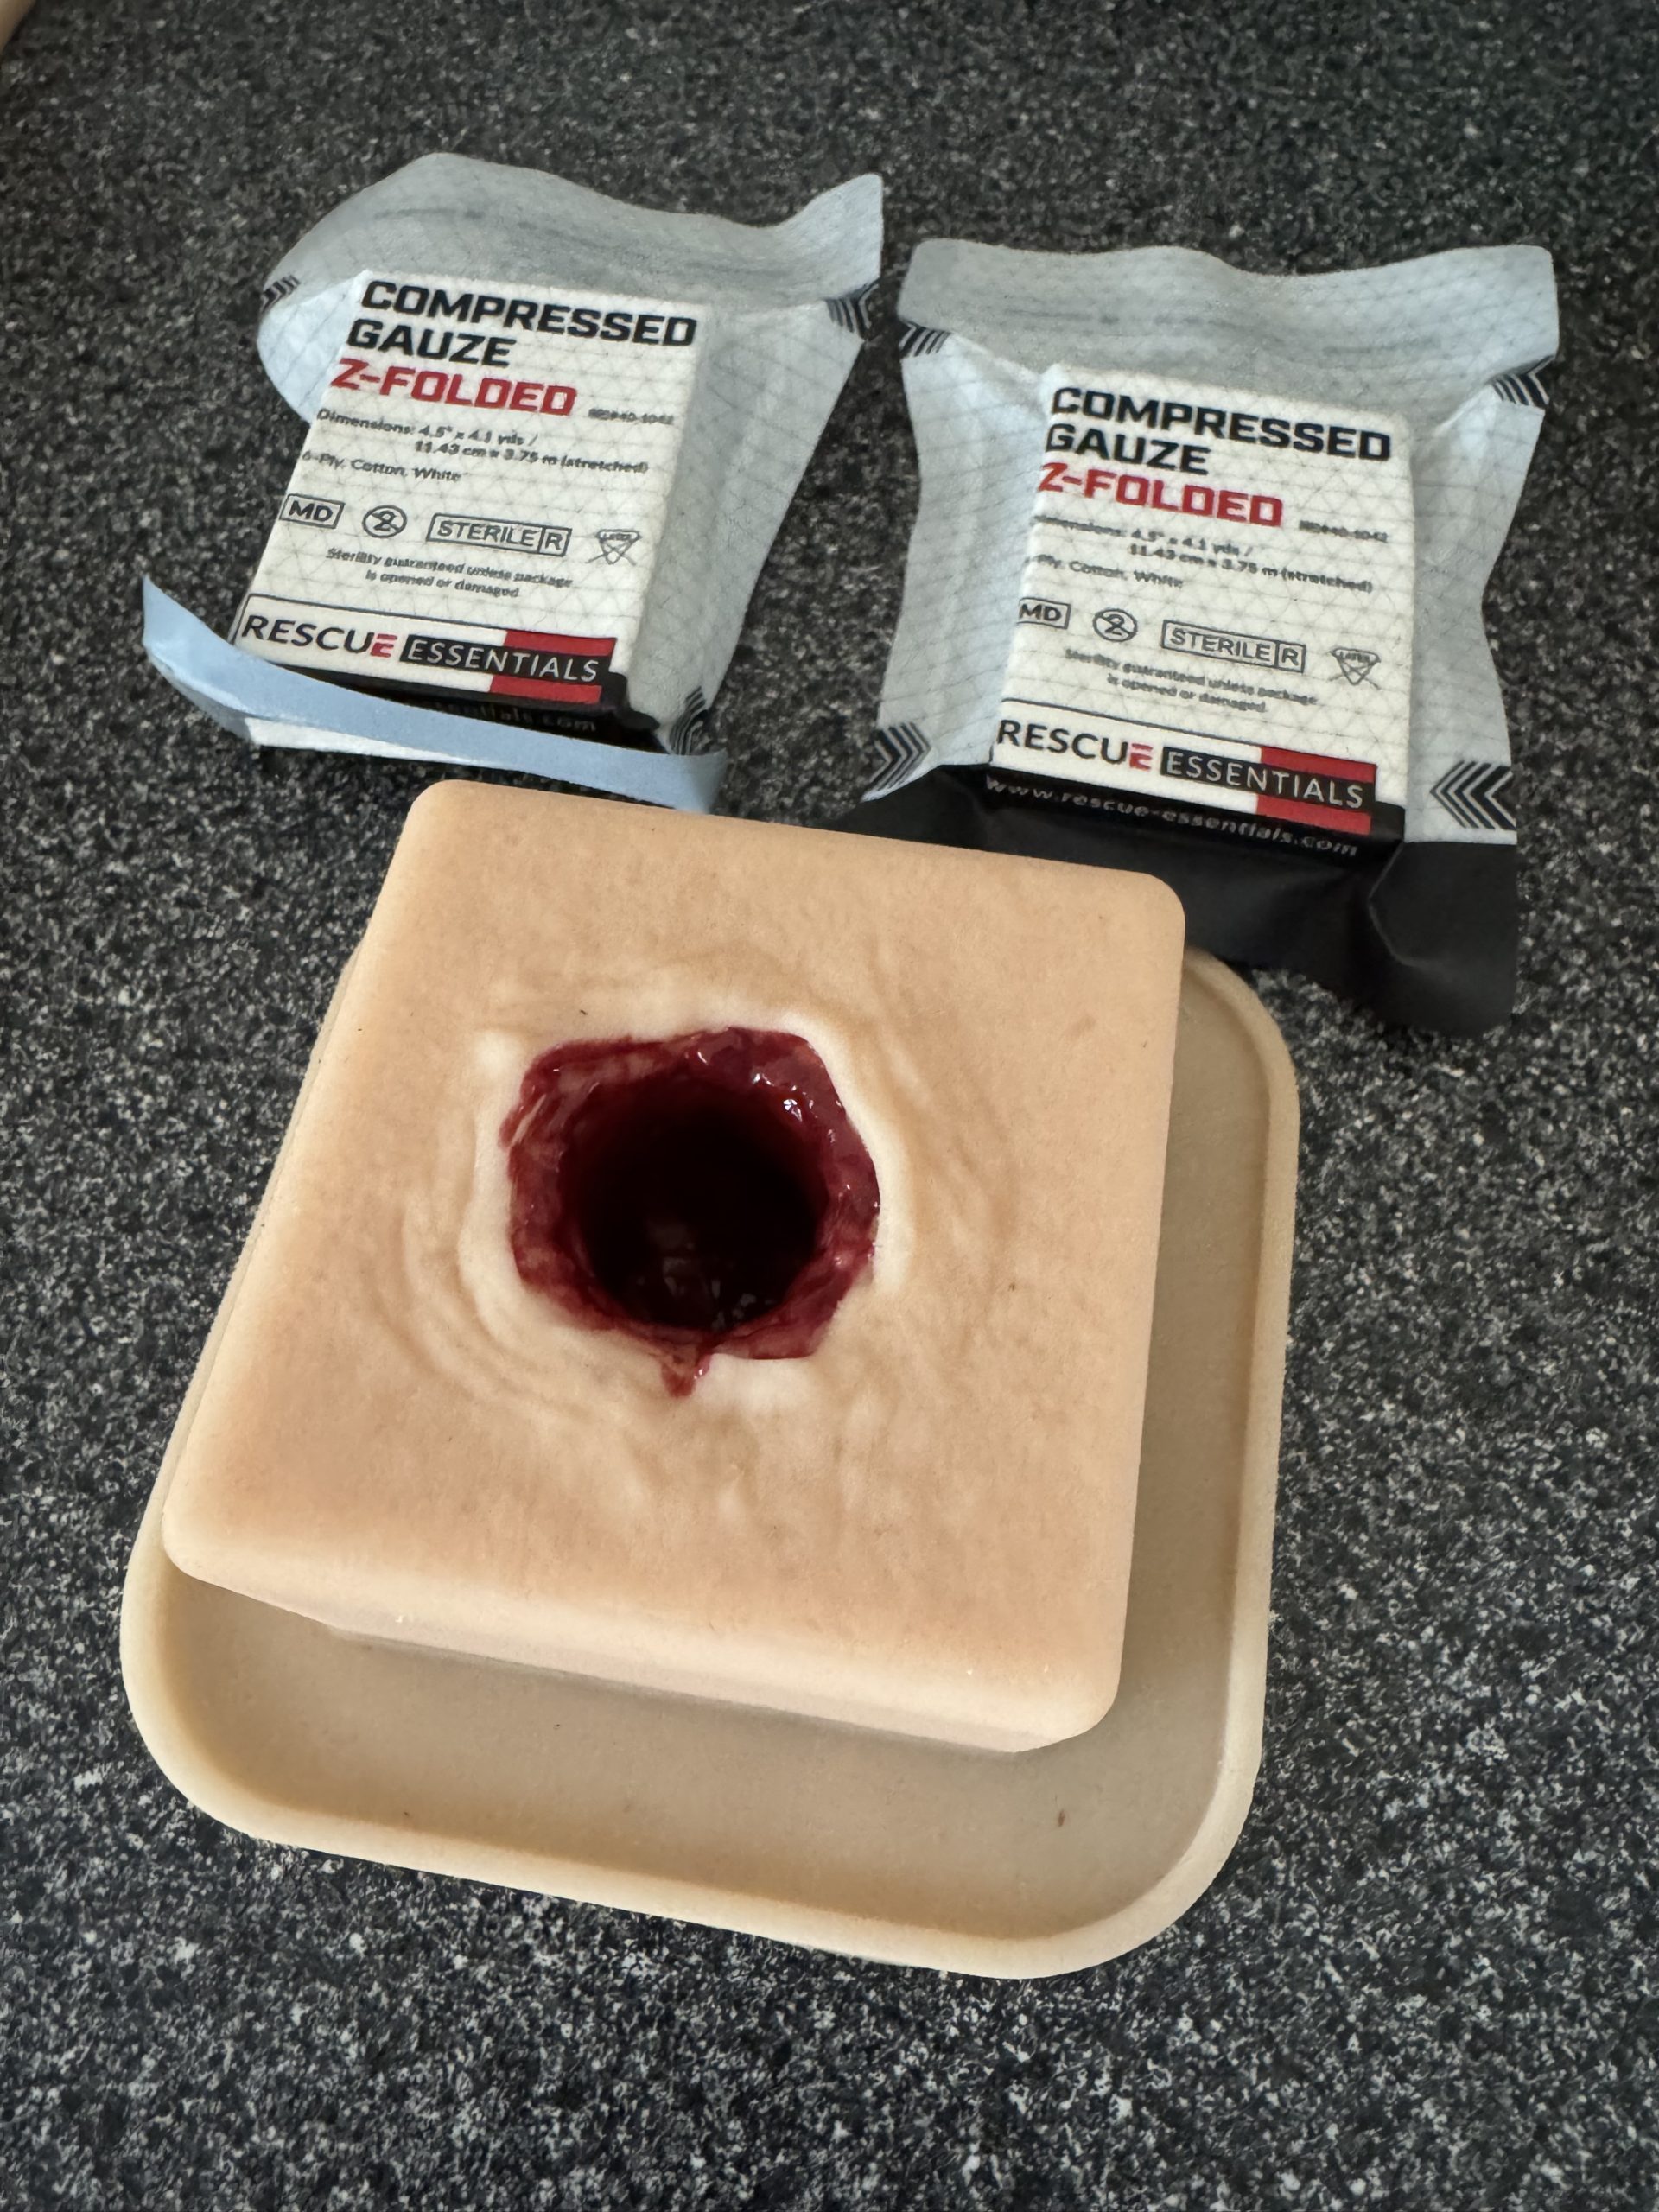
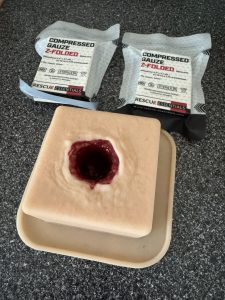
Finished wound packing trainer with example Z Fold Gauze.

Batch of 12 wound packing trainers finished in a single batch.